
Learning how to read a cross stitch chart is the single most useful skill a beginner can pick up — once the grid of symbols stops looking like a secret code, every PDF pattern in the world opens up to you. This guide walks through the anatomy of a chart, what every symbol means, how to match symbols to DMC numbers, and the exact step-by-step method stitchers use to work a design without losing their place.
By the end, you will be able to open any cross stitch pattern, find the center, decode the color key, and start stitching with confidence.
What Is a Cross Stitch Chart?
A cross stitch chart is the map you follow to create your design. Each tiny square on the grid represents one cross stitch on your fabric, and every symbol inside a square tells you which DMC thread color to use. Instead of counting by eye, you read the chart square by square — this is why a clear, printable chart is the most important part of any cross stitch pattern.
Charts are usually drawn one stitch per square at a small scale, and they are read exactly the way you read a spreadsheet: columns run left to right, rows run top to bottom, and bold grid lines every ten squares help you keep your place.
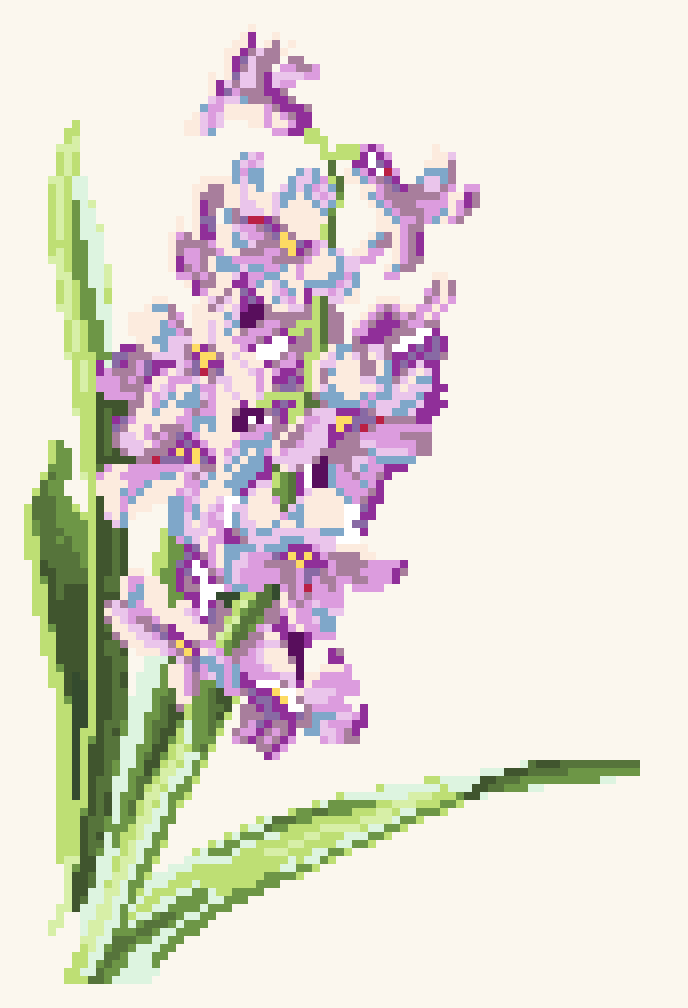
The Anatomy of a Cross Stitch Chart
Every chart you will ever open has the same basic parts. Learn to spot them and you have already mastered half of chart reading.
The Grid
The grid is the body of the chart. Each square equals one stitch on your fabric. Look closely and you will see two kinds of lines:
- Thin lines divide individual stitches so you can count single squares.
- Bold lines every 10 squares divide the chart into blocks, exactly like the 10×10 blocks on graph paper. Numbers printed along the top and side edges give coordinates, so a designer can say “work the section at row 5, columns 20-30” and you can find it instantly.
The Color Key (Legend)
The color key, usually printed on the page before the chart, lists every symbol used in the design with its DMC number, color name, and stitch count. This is your dictionary: you never guess a color from the chart itself, you always check the key first.
The Arrows
Most charts mark the center with arrows on all four sides. That center point is where you should start stitching, and it is how the design stays perfectly placed on your fabric even if you cut your fabric slightly larger than needed.
How to Read the Color Key and DMC Numbers
Open any pattern PDF and you will see two parts: the chart itself (a grid filled with symbols) and a color key, usually on the page before it. The color key lists every symbol used in the design, with its DMC number, color name, and how many stitches of that color you need. Always start by reading the color key, then mark your place on the chart.
DMC numbers are universal. A 310 is always black, a 666 is always bright red, a 3865 is always a soft winter white — no matter which shop, which country, or which decade you buy them in. That is why patterns say “DMC 310” instead of “black”: the number cannot be mistranslated.
When you see a symbol on the chart, find the same symbol in the color key and check its DMC number. Some charts also show a small color swatch next to each symbol; when they do, use the swatch as a second confirmation but trust the number, because screen colors vary between monitors.
Common Cross Stitch Symbols and What They Mean
Cross stitch charts use a small set of standard symbols. Once these are familiar, chart reading becomes a matter of speed, not decoding:
- Full cross (× or +): one complete cross stitch over one fabric square. This is the most common symbol and the one beginners will use 90% of the time.
- Half cross (/ or \): a single diagonal stitch, used for light shading or for blended backgrounds.
- Quarter cross: a diagonal stitch from the corner of a square to its center, common in detailed faces, petals, and small lettering.
- Three-quarter cross: a quarter stitch combined with a half stitch, used when a color needs to fill almost — but not quite — a whole square.
- Backstitch (solid lines, not symbols): outline stitches worked after all the crosses are done. They give edges, faces, and lettering their crisp definition.
- French knot (small circle or dot): a knotted stitch, perfect for flower centers, berries, and texture.
- Straight stitch (short line): a single flat stitch, often used for stems or fine details.
- Blank squares: simply skipped — nothing is stitched there, leaving the background fabric visible.
A good pattern keeps the symbol set small and prints a full key, so you never have to memorize anything. If a chart uses unusual symbols, the key is your authority.
How to Read a Cross Stitch Chart: Step by Step
Here is the exact method used by experienced stitchers, from opening the PDF to making the first stitch.
Step 1: Read the color key first. Count how many colors the design uses and gather your floss. Sort the skeins by DMC number so you can find each color quickly.
Step 2: Find the center. The chart shows its center with arrows on all four sides. Fold your fabric in half twice and pinch the center point. Start stitching there. Starting from the center keeps your design perfectly placed, even if your fabric is slightly bigger than the pattern requires.
Step 3: Work one 10×10 block at a time. Find the bold grid lines and pick one block to start in. Work every stitch of every color inside that block before moving to the next. This is the fastest way to avoid losing your place, and it is how stitchers finish large projects without errors.
Step 4: Match symbols to DMC numbers as you go. Check each symbol against the color key, thread the needle, and stitch. Mark completed squares lightly with a highlighter or a removable fabric pen if you prefer — many stitchers scan and print a second copy of the chart just for marking.
Step 5: Add backstitch and details last. Outline stitches are worked after all crosses are complete, so the lines sit cleanly on top of the stitching.
Step 6: Finish and frame. Wash the finished piece gently in cool water if the fabric is marked, iron on the reverse side, and stretch it in an embroidery hoop or frame it.
How to Convert Stitch Count to Finished Size
Patterns list their size in stitches, like “100 x 200 stitches.” To know the finished size in inches, divide the stitch count by the fabric count. On 14-count Aida, 100 stitches equals about 7.1 inches (100 ÷ 14). On 16-count Aida, the same 100 stitches equals 6.25 inches. Always check which fabric count your pattern recommends before buying fabric. If you are unsure which fabric to choose, our guide to Aida 14 vs 16 vs 18 count fabric explains the trade-offs in detail.
Common Mistakes Beginners Make (and How to Avoid Them)
- Starting without finding the center. This is the number one cause of designs running off the edge of the fabric. Always start at the center arrows.
- Trusting the symbol, not the key. Two different charts may use the same symbol for different colors. The color key is the only authority.
- Skipping the 10×10 blocks. Counting stitch by stitch across the whole row is slower and far more error-prone than working one block at a time.
- Using the wrong fabric count. A chart designed for 14-count fabric comes out roughly 15% larger on 11-count and noticeably smaller on 18-count. Check the pattern notes first.
- Not marking completed stitches. On a large chart, losing your place costs more time than any marking method.
- Stitching backstitch too early. Backstitch worked before the crosses can be covered or pulled out of shape. Save it for the end.
Frequently Asked Questions
Is it hard to read a cross stitch chart? No. The hardest part is the first hour: recognizing that each square equals one stitch and learning to trust the color key. After a small project, chart reading feels automatic.
Do I need to know DMC numbers by heart? No. The color key lists every number you need, and DMC numbers are printed on the floss labels. Memorization is only useful for planning colors at the shop.
What if my chart has no symbols, just colored squares? Some charts color each square instead of using symbols. Read them the same way — each square is one stitch — and use the color swatches in the key to match thread.
Can I read a chart on a screen, or must I print it? Both work. Many stitchers zoom into a PDF on a tablet. Printing a marked copy is helpful for large designs, but the chart itself is identical.
Where can I find a chart to practice on? Our free mini fruit cross stitch pattern is a small two-color design built for exactly this — a short practice chart that includes a color key, a 10×10 grid, and center arrows, so you can apply every step above in one sitting.
Ready to Practice?
If you have never picked up a needle before, our complete cross stitch guide for beginners covers supplies, fabric, and your first stitches step by step — come back here once you are ready to decode charts.
All of our patterns at ZhiYuan include a full-color preview, a color key with DMC thread numbers and yardage, and a large symbol chart split into numbered sections. If you are new to cross stitch, start with an easy design — our flower patterns collection has plenty of beginner-friendly charts, and every PDF includes a step-by-step guide for beginners on the last page. Choose a design you love, print the chart, find the center arrows, and make your first stitch tonight.